
Bring your metal card to life in about 30 seconds.
Your Solaris Metal Cards card ships without a chip so you can install your own and make it a fully functional payment card. Here’s exactly how — step by step.
What you’ll need
- Your Solaris Metal Cards metal card
- An existing chip bank card you own and are happy to retire (the chip lives in one card at a time)
- A hair dryer or heat gun on low (a lighter also works)
- A thin flat tool — craft knife or guitar pick (optional)
- A little B7000 or E8000 glue — never super glue
- Patience and a steady hand
Before you start
Only use your own card
Never transplant a chip from a card that doesn’t belong to you.
This retires your old card
Once the chip is removed, the original plastic stops working — the chip keeps functioning in its new metal home.
Check with your bank
Policies vary; if unsure, ask your bank or use a replacement chip card. Most banks don’t mind — it’s your choice.
Go slowly
Rushing or overheating is the #1 cause of a damaged chip. Low heat and gentle pressure are all you need.
Install your chip in 7 simple steps
Warm the old card
Using your hair dryer or heat gun on low, gently warm the area around the chip on your old card for 3–5 seconds to soften the adhesive. Keep the heat moving so you don’t scorch the plastic.
Lift the chip out
Bend the card slightly to pop the chip out, or slide a craft knife or guitar pick under one edge of the gold module and gently work it free. Lift slowly and evenly so the delicate connections stay intact.
Clean both surfaces
Remove any old adhesive from the back of the chip and from the chip cavity in your metal card. The cavity is pre-milled to fit a standard chip module.
Test the fit
Place the chip in the cavity without glue first. It should sit flush so terminals read it cleanly. Keep the open-border side of the chip facing up — it is always on top.
Glue it in place
Apply a single thin drop of B7000 glue to the cavity, set the chip with contact pads facing up and flush, and press gently. Wipe away excess immediately. Open-border side stays on top.
Let it cure
Leave the card undisturbed for the full cure time on your adhesive (usually a few hours). Don’t rush this part.
Test it
Once cured, insert your card into a chip reader to confirm it works. You now have a fully functional metal card.
Will my metal card tap?
Full-metal cards work with chip insert payments — you slot the card into the reader. They don’t support contactless tap, because solid metal blocks the wireless signal. If you specifically want tap, look at our dedicated Tap to Pay cards, built with a special antenna construction for contactless use.
Frequently asked questions
Can I move the chip again later?
Yes, though each transplant adds wear. The chip is happiest staying in one card once installed.
What if I damage the chip?
If the chip stops working, order a replacement card from your bank and repeat the process with the new chip.
Do I need any special tools?
No. Everything you need is inexpensive and available at most hardware or craft stores.
Does this work with any bank?
The physical process is the same for any standard chip card. The chip carries your existing card’s details, so it keeps working exactly as before (as long as the chip isn’t damaged).
Caring for your metal card
Stainless steel is durable and won’t rust or warp. Wipe it with a soft cloth to keep it shining. Mirror and high-gloss finishes can show fine surface marks over time with heavy daily wallet use — normal for any polished metal product.
Still have questions? Reach out any time and we’ll gladly help you get set up.
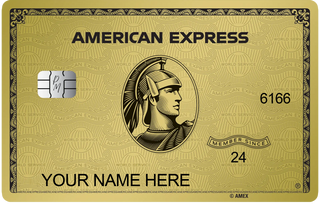
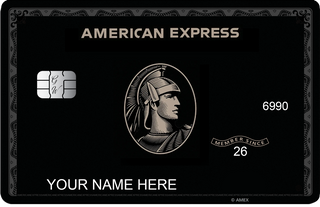
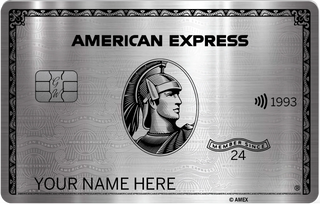
Don’t have your metal card yet?
Choose a design or build your own, approve a free preview, and we’ll engrave it in solid steel — ready for your chip.
Prefer we handle it? Reach us on WhatsApp at +18025327203.